
Posts and Projects:

Sure, I could have had the dealership install the OEM leather wheel, but that wouldn’t have made for a very interesting blog post. There are aftermarket options for the Impreza, like WheelSkins, but I thought I’d see what I could come up with on my own.
Since I plan to do more than one leatherworking project, I bought a half a 1.2mm top grain hide for $76 locally. This is a good thickness for steering wheels and seats, but too thick for things like shifter and handbrake boots.
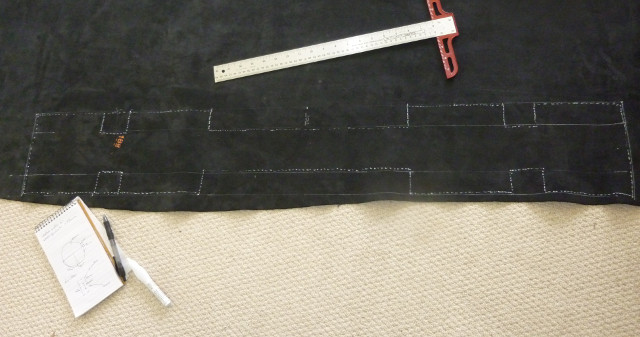
It’s nearly impossible to cut the leather to perfectly match the contour of the spokes, so what follows is a bit of trial and error. Erring on the side of safety, I made the cut excessively large. The key measurement is the wheel thickness, or circumference. Ideally, the leather stretches a bit and the edges butt up against each other on the inside of the wheel. I measured 94mm, but this will depend on the elasticity of the leather and the tension of the threads. I cut a few two inch long sections and sewed them around the wheel fo find the perfect length.
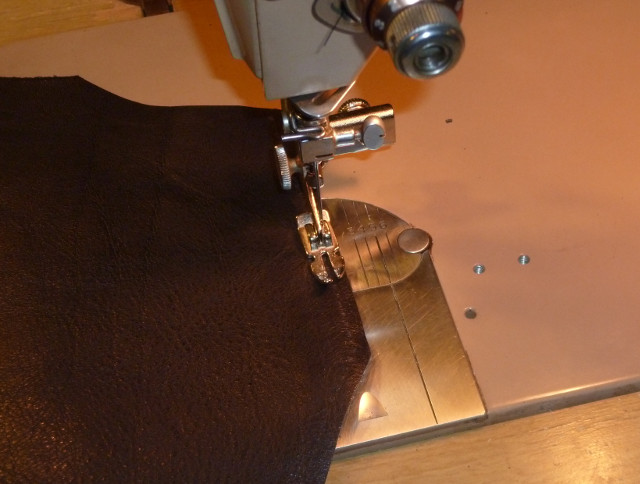
I used an old Singer 404 to punch evenly spaced holes in the leather at six per inch. If you don’t have a machine capable of punching through leather, you can do this manually with a ruler or spacing tool, and an awl.
For its size and age, the 404 does surprisingly well with leather this heavy and can sew two pieces together, though it does struggle.
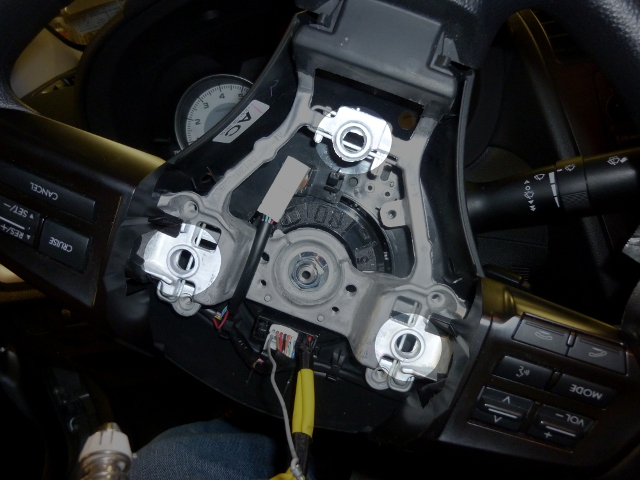
While not absolutely necessary, I chose to remove the airbag. If you do this, disconnect the battery first. The airbag snaps into place in three places. To release the airbag, I had to push three springs through holes in the back of the wheel. This is very tedious and frustrating and the service manual is of little help. Hopefully this picture will be more useful:
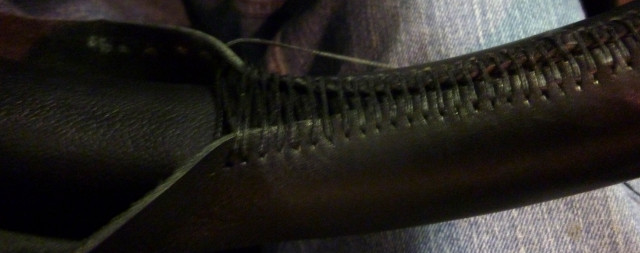
The two ends of the leather are joined at the 6 o clock position. Finding the exact curve for the ends took a few tries. Without this curve, the leather would bunch on the front and rear face of the wheel, while being excessively tight on the outer edge.

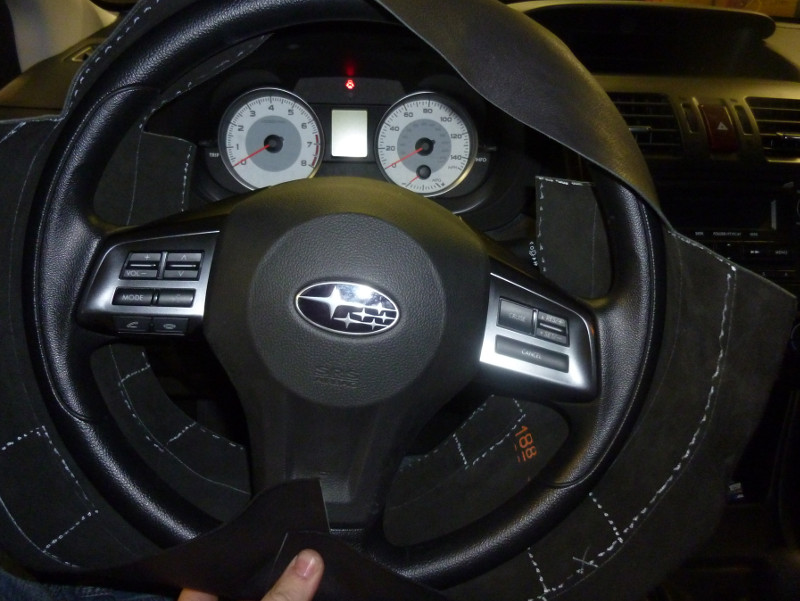
Originally, I wanted to fully cover the left and right spokes like the bottom, but I ended up removing too much material so I cut the leather to follow the outline of the spokes.
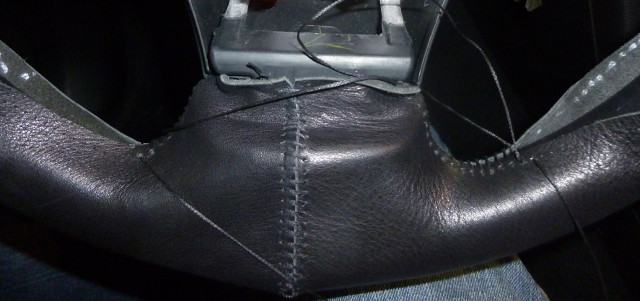
When stitching the wheel, it’s important to avoid running out of thread. Because there’s no access to the backside of the leather once the threads are tightened, and pulling knots through the leather is difficult, It’s best to err on the safe side. The threads must be tightened progressively, in waves. Tightening the last few threads will block your access to the back of the leather, which will make threading it impossible. I used needle nose pliers to push the needle through the leather and also to pull each stitch progressively tighter.
Doing some rough napkin math, I estimate I pulled a half mile of thread through leather. It took four evenings of stitching before the wheel was done.

It was a long time to be doing something so tedious, but worth it considering the amount of time I’m in contact with the wheel.

All trademarks cited here are the property of their respective owners