Posts and Projects:

Fiberglass is used in boats, aircraft, automotive bodywork and anywhere strong, light structures of various shapes are useful. Fiberglass subwoofer enclosures take quite a bit of work and time to get right, but they offer many benefits over one-size-fits-all MDF boxes:
Weight – A fiberglass enclosure weighs a fraction of an MDF box of the same volume. Weight is an important consideration for acceleration and fuel economy, especially for small cars.
Space efficiency – Fiberglass enclosures can be molded around odd contours, making use of every cubic inch available. Placed behind the rear wheel well, they allow the subwoofer to fire into the trunk and cabin rather than towards the rear of the car. This arrangement is great for sound quality and you can still fold down the seats to carry large objects.
Strength – Fiberglass is very strong, especially when molded around curves. Because it’s highly resistant to flexing, energy loss through the enclosure is minimized.
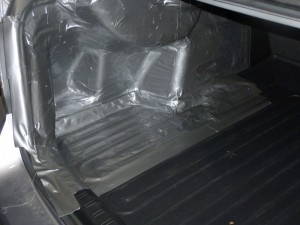
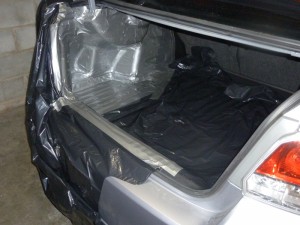
The first step is to completely mask off any surface where fiberglass resin may land with duct tape. Resin is extremely difficult to remove from surfaces, especially carpet. Since I’ll be using my cargo tray with the completed subwoofer, I left the tray in and masked around it.
Trash bags are added beyond the working area. This is not overkill. Resin has a way of getting everywhere.
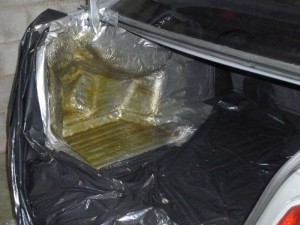
The first layer of resin laid down, just enough to keep its shape. Keeping it slightly flexible makes the mold easy to pull from the car. More layers can be added outside of the trunk.
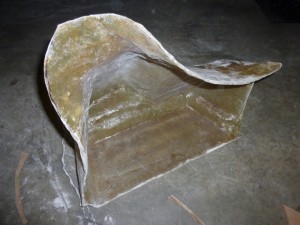
The mold separated from the car and duct tape. bubbles, pits and other defects are circled for repair later. These can be fixed with a Dremel tool, more fiberglass and resin.
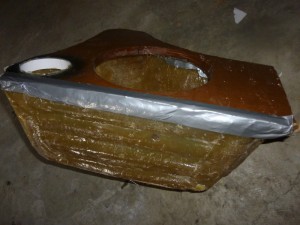
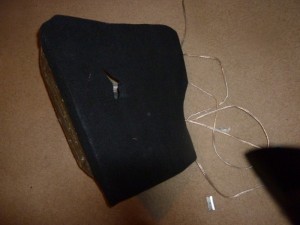
After the addition of more layers and removal of excess, we’re left with something like this:
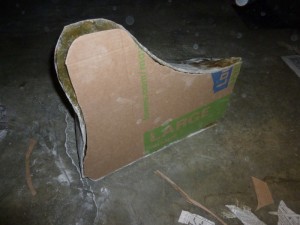
A sheet of cardboard makes a good template for what will eventually be the MDF face of the enclosure.
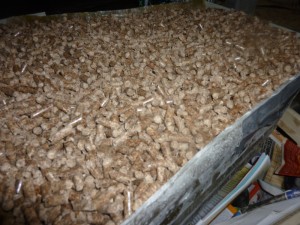
I filled the enclosure with wood pellets to get a rough idea of its volume. I came up with 0.68 cubic feet, but I was hoping for more.
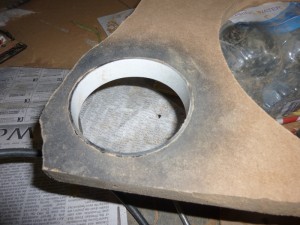
Cutting the hole for the 10″ subwoofer first. I made this critical cut before cutting the perimeter of the face because if I made a mistake here, I’d have to start over. There’s much more room for error around the perimeter, which can be filled in with extra fiberglass and resin.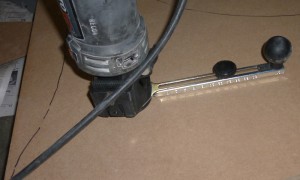
Also cut into the MDF is a hole for a 3″ port. There’s no room for the port inside the box, so it will protrude from it. I made an insert from a 3″ PVC junction and joined it to the MDF with resin. The port will press-fit in and out of the MDF face for easy removal.
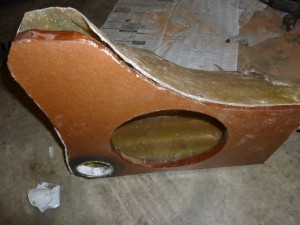
Test fitting the fiberglass to the MDF. Next comes the long process of removing high spots on the MDF with the Dremel until the fit is snug.
I taped the inside of the junction to keep resin added to the outside, in place.
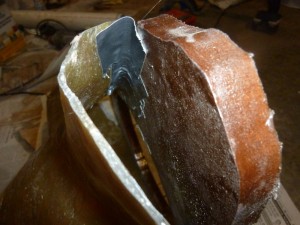 Drywall screws through the fiberglass and MDF keep the two joined while the resin dries.
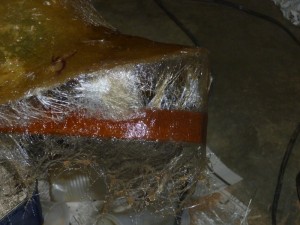
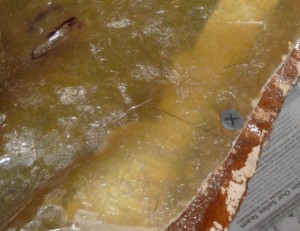 Joining the bottom, this time with tape on the outside and resin being applied from inside, through the speaker hole. Carefully tiling the enclosure lets the resin run to where it’s needed.
Bridging the last open part of the enclosure.
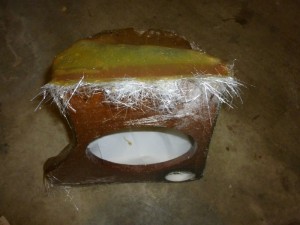
More fiberglass used on the right of the box to bridge a gap.
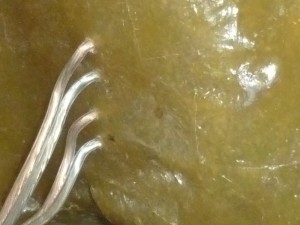
Wires run through the rear of the box.
I sprayed a layer of 3M adhesive over the face of the enclosure, applied carpet, and cut away the excess with a razor.
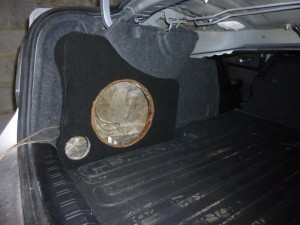
A test fit of the empty box.

All trademarks cited here are the property of their respective owners

